
Sandy:
Angel’s Crest is an absolute blast and the highlight of our Squamish July 2024 trip. We planned it for the 8th day, after six days of climbing and one rest day, ensuring we were well-rested.
After finishing Read Between the Lines, we chilled for the rest of the day. We had super spicy vegetarian pho at Taste of Saigon Cafe, spent four hours swimming/hot tub/steam room at Brennan Park, packed our gear, and went to bed by 8:30 pm. With muscles relaxed, we got a solid sleep score of 80 and woke up at 4 am.
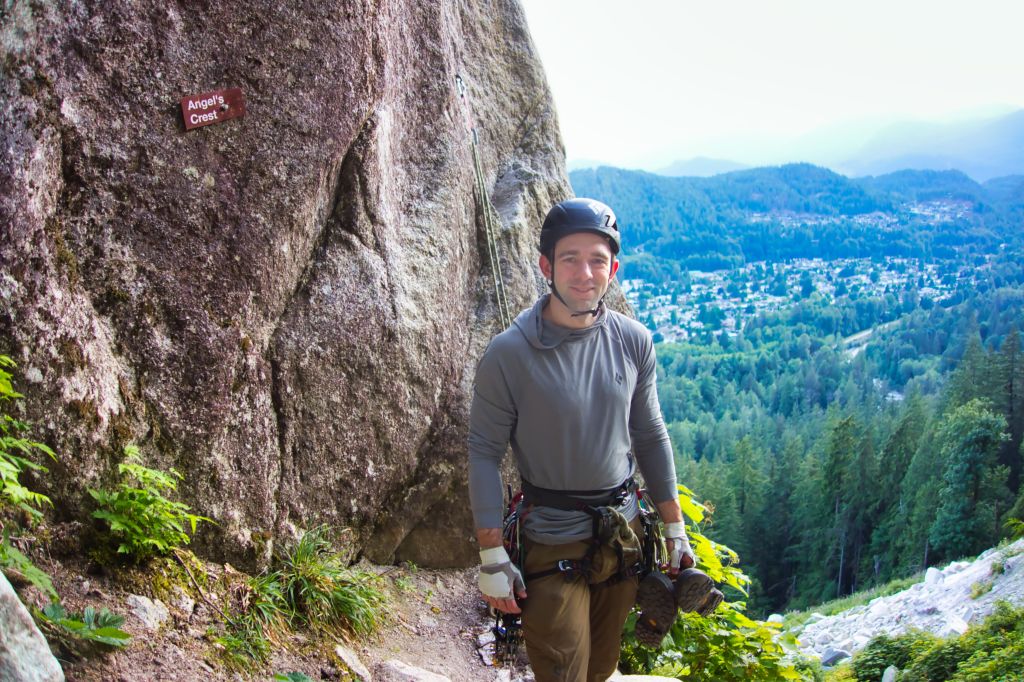
We quickly got ready, chugged some black coffee, and parked near the trailhead. Thirty minutes later, we were at the base of the climb. At the start of the trail, when you see the sign for Angel’s Crest/North Gully, stay left and follow the trail. When you reach the wall, go left again until you see the next “Angel’s Crest” sign on the wall. Determined to be the first ones, we were at the base by 5:40 am and started climbing by 6 am. It’s true that the first pitch isn’t a great warm-up, but we felt the hike was enough to get us going.
Initially, Rick was supposed to lead the first seven pitches, and I would lead the rest. However, if you enjoy leading awesome lines and are confident at the burly 5.10- grade, I recommend leading P1, P2 (Angel’s Crack), P3 (the 10b face was my crux), P7, P8 (5.9), and P12. Rick got into the zone after leading the first three pitches, so I let him block lead the whole thing—and he flawlessly led all 13 pitches! We had three parties behind us (two of them did the tree start), and one party accidentally skipped Angel’s Crack and met us at the base of Pitch 3. We had a blast trying to maintain our lead until the end of P9 against this party of strong climbers who were incredibly fast. I was carrying 3.75 L of water, food, etc., totaling over 4.5 kg, but I didn’t eat or drink until after P10 because we were waiting for them to finish leading P11. It’s interesting how climbing with other parties adds a bit of excitement to the experience!
This route gets afternoon sun and we topped out at 3pm so we were in shade all day except the Acrophobes traverse.
The rest of the experience, pitch descriptions, and gear beta are detailed in the image captions. We carried a double rack to #2 and one #3 which was only placed in P11 in “The Whaleback” and at the start of Bombay chimney (P13, 5.8). A #4 is a better fit for that crack and #3 will be undercammed.
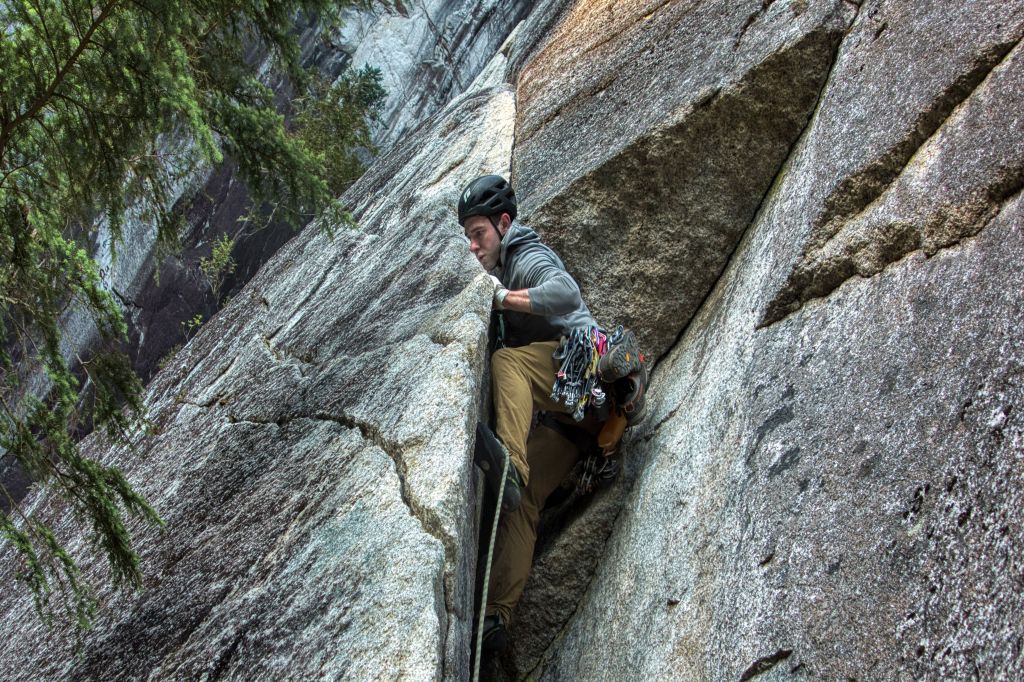
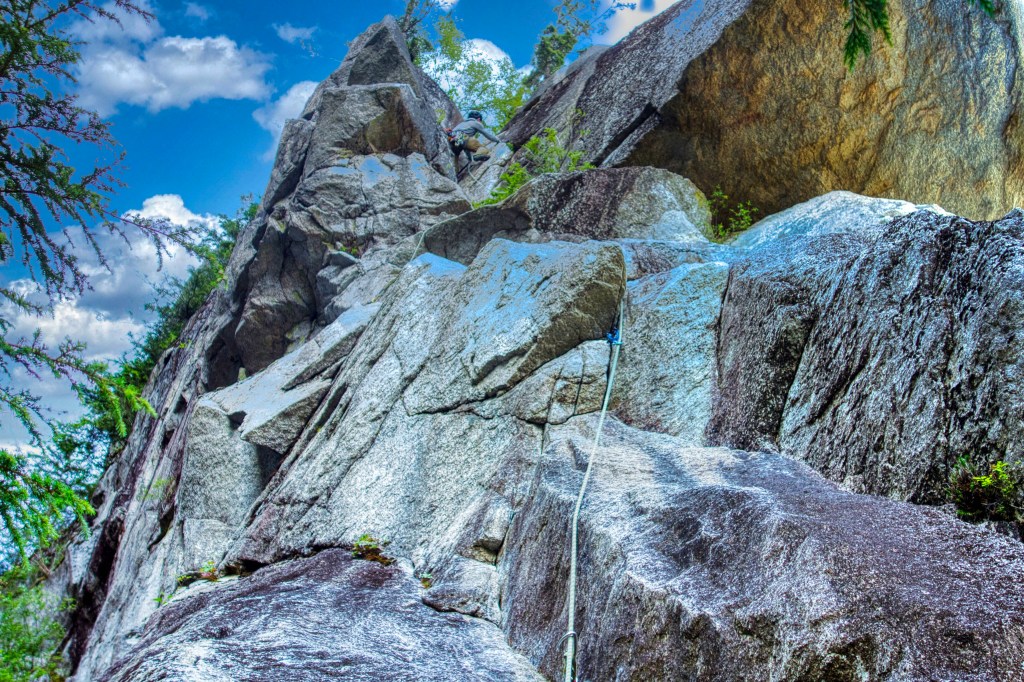
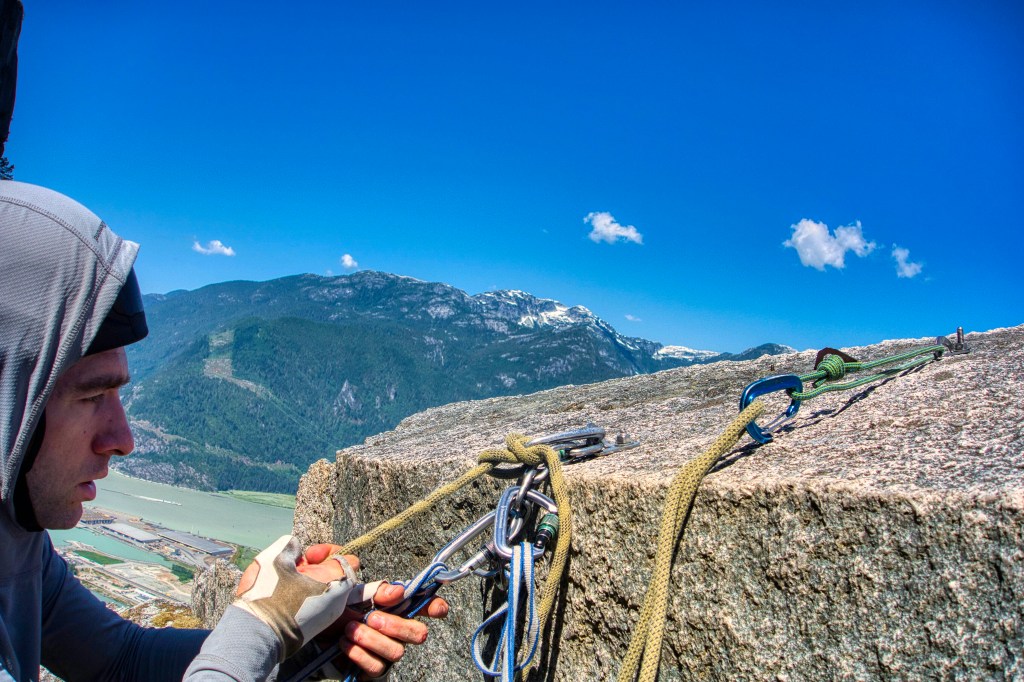
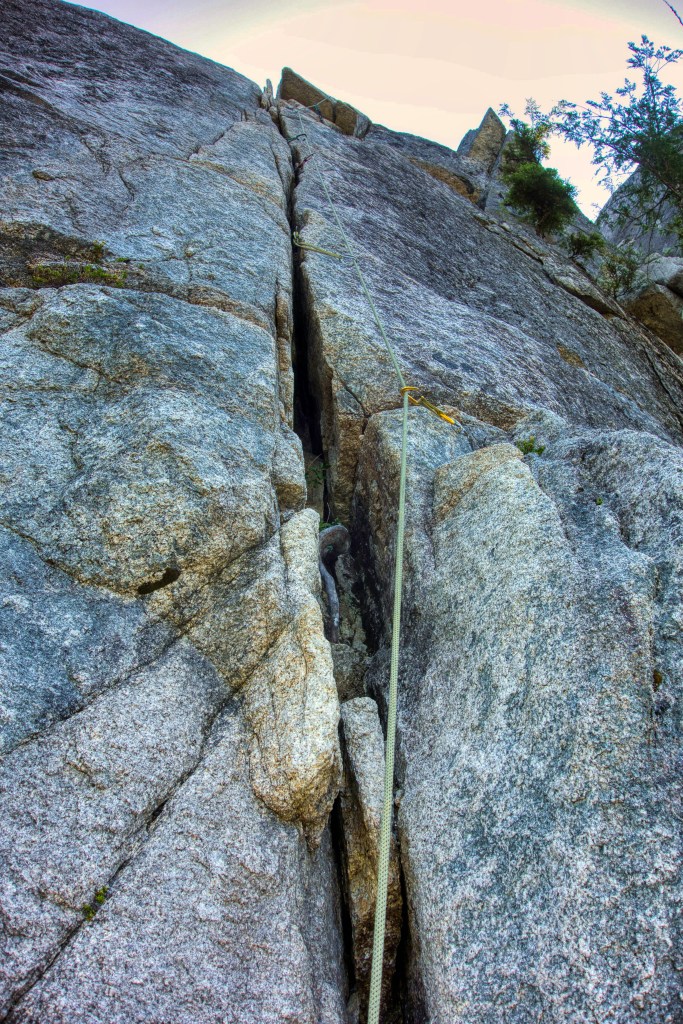
Pitch 1 (10b): This is a mixed climbing pitch with three bolts on the initial slab section and more bolts on another slab section that leads to a large ledge directly below Angel’s Crack. Clipping the second and third bolts (the first one is seen in this picture) requires some very tenuous moves, providing an intense start to the climb. It’s like the climb’s way of saying, “Welcome, let’s see what you’ve got!”
Pitch 1
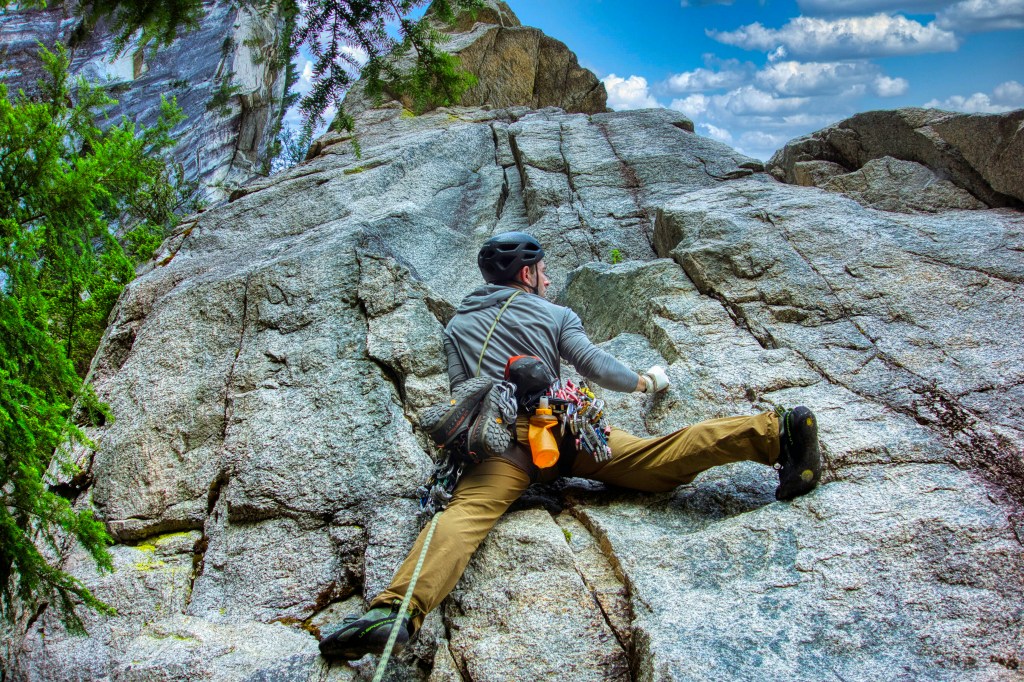
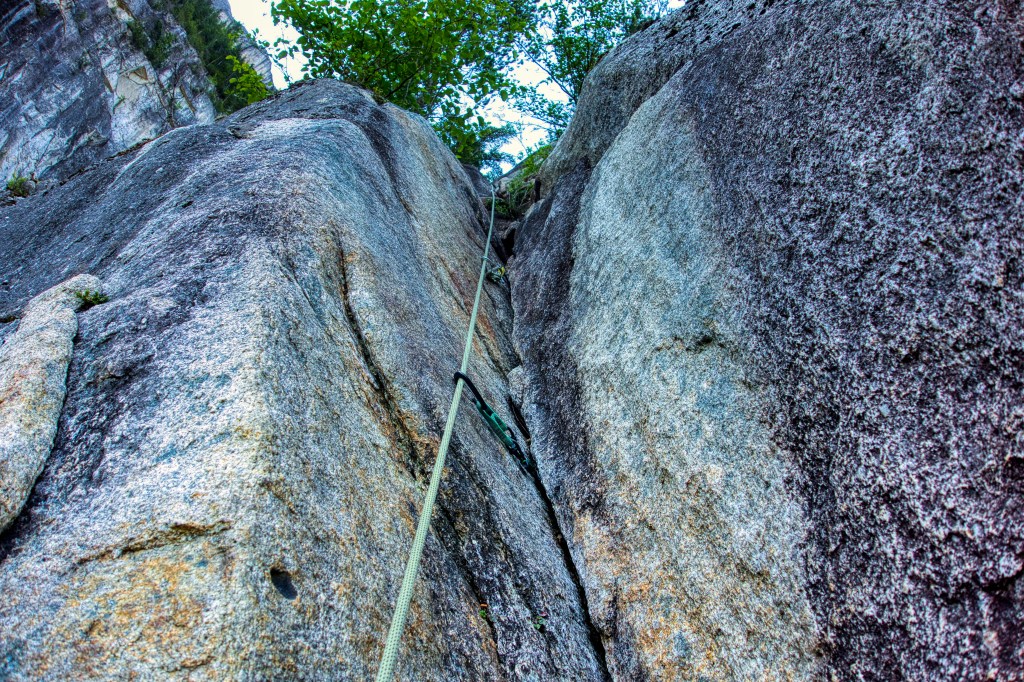
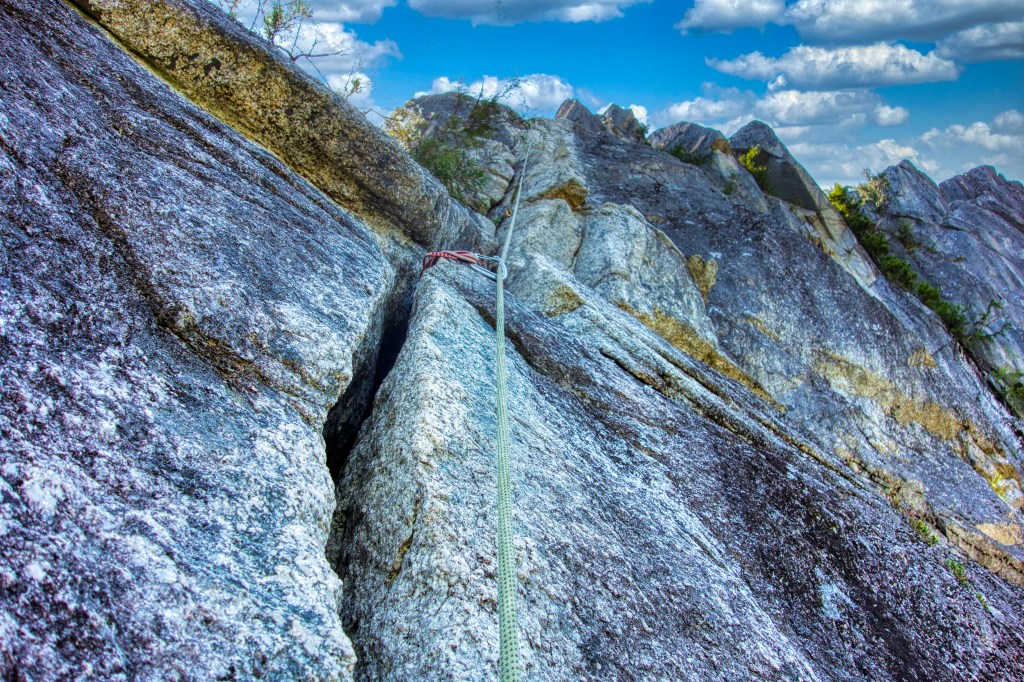
Pitch 1 (after the initial slab segment): This section may look benign, but it’s a vertical pile of awkwardness! You can protect it with a totem, .3, and .4 cam, in addition to clipping a bolt down low and another bolt at the top. It’s like the climb’s way of saying, “Don’t let your guard down just yet!”
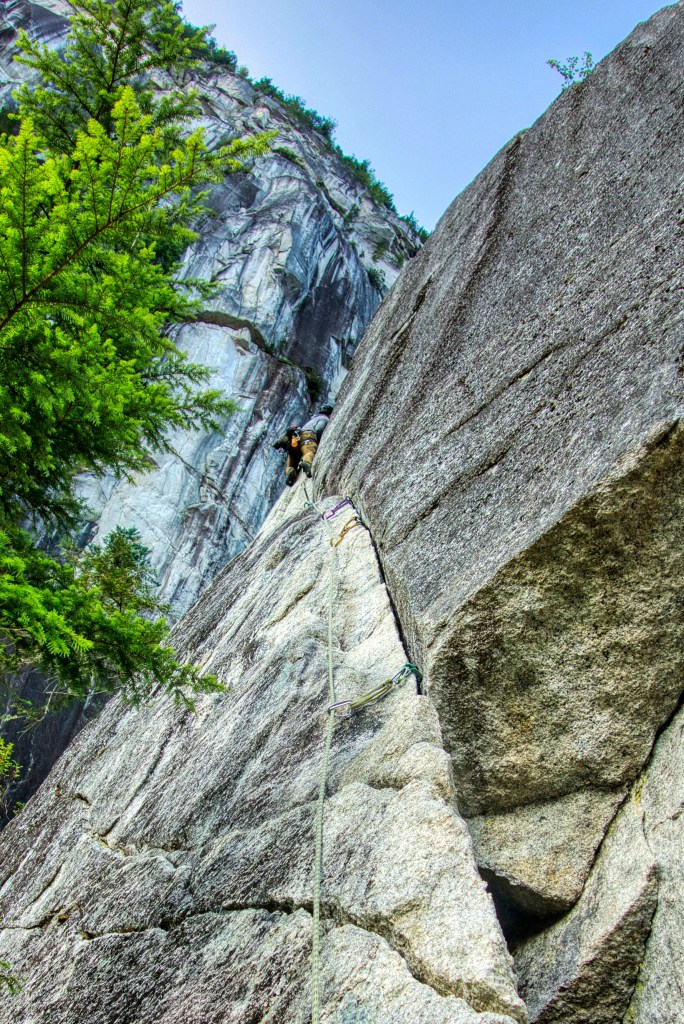
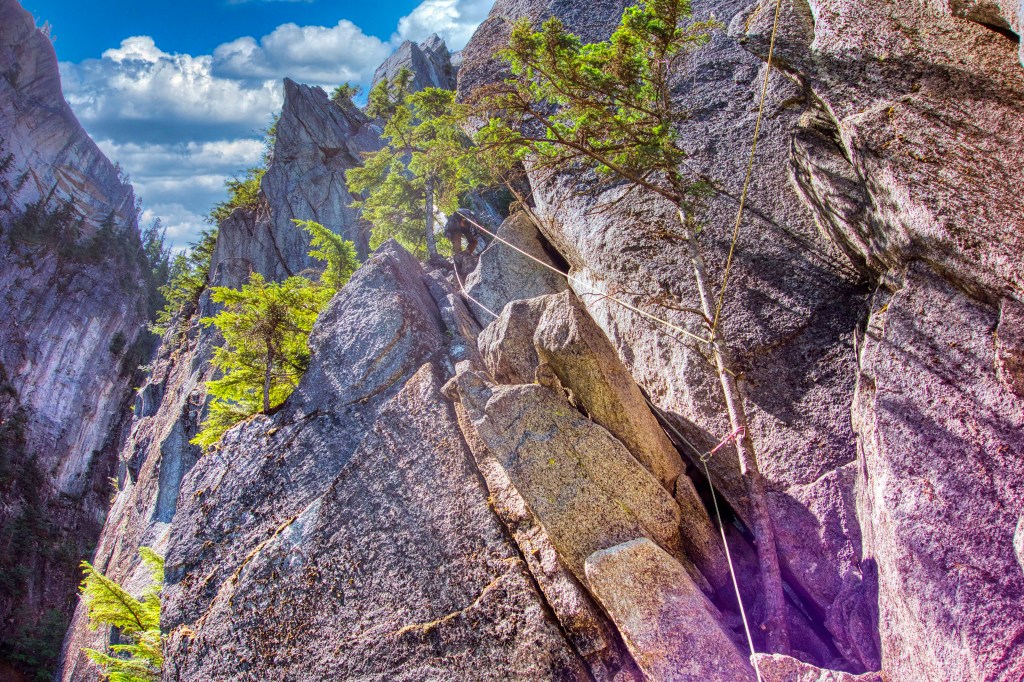
Pitch 1: This slab is steeper and more thought-provoking than it looks in the picture, with bolts to protect you along the way. The ledge above this slab marks the end of the pitch and is at the base of Angel’s Crack. It’s like the slab’s way of saying, “Ready for the real challenge?”
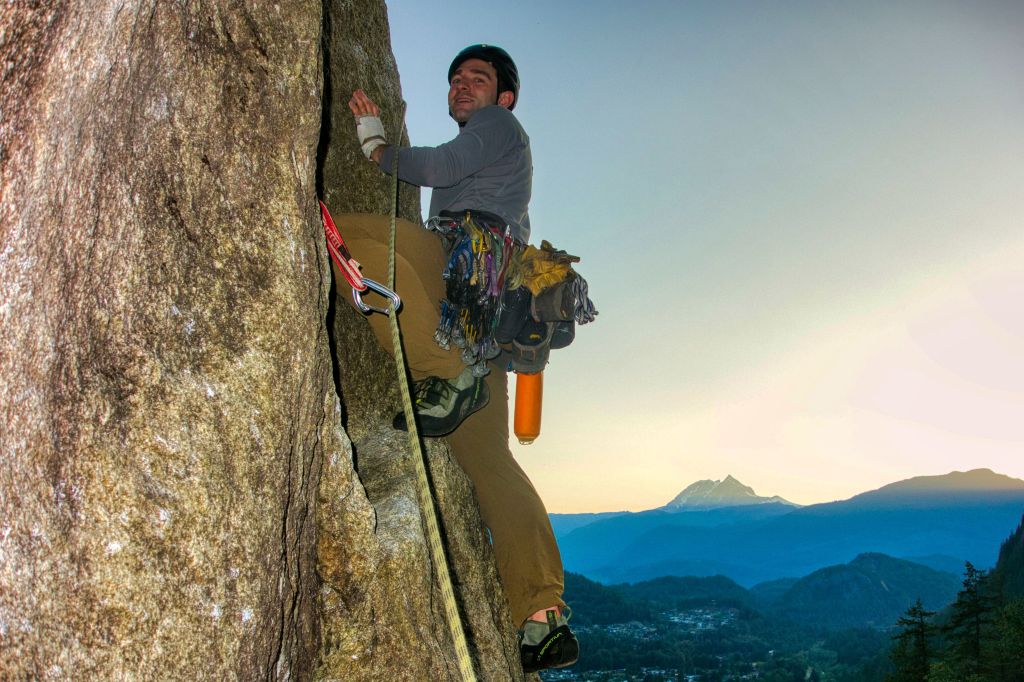
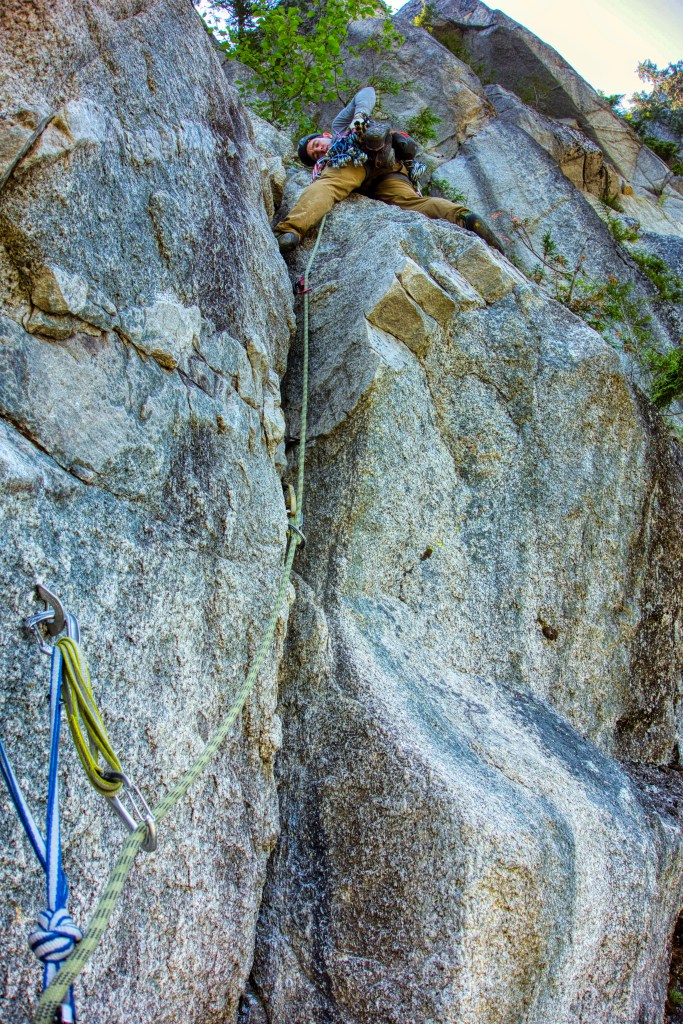
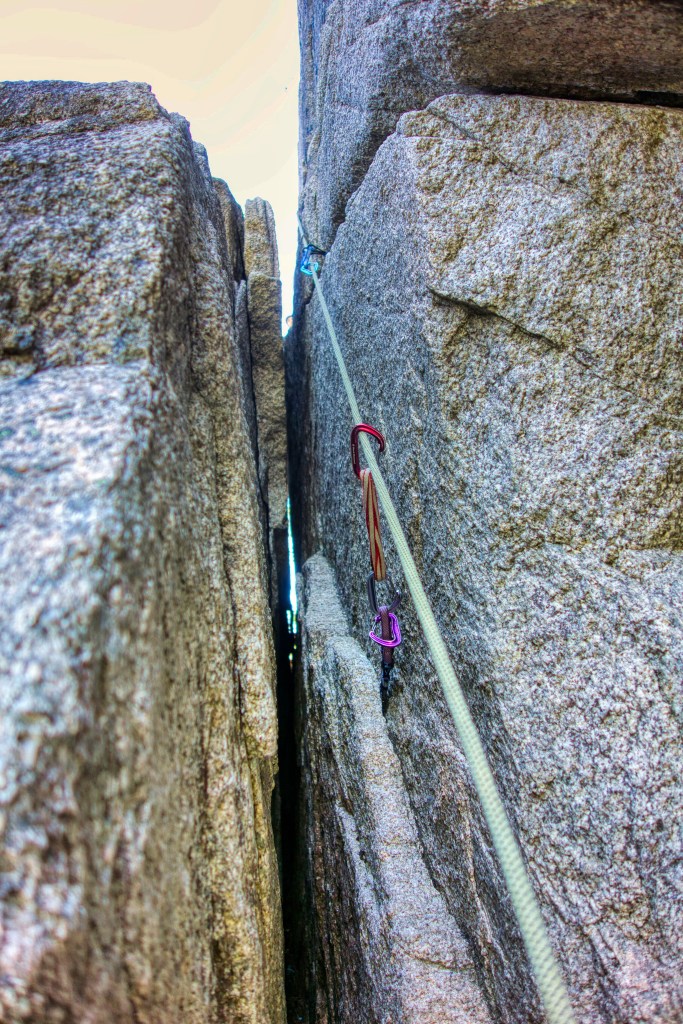
Pitch 2 (5.10b): Angel’s Crack starts off super chill for the first half. But then, things get serious. At this section, I found it really tough to use the crack for my feet—it’s all about hand jams and cams for the crack, and smears for your feet.
Pitch 2: Rick is at the difficult section of Angel’s crack. After this section you get to the bolted anchors. He placed totem .75, .4, .5, .5 and other finger cams up above.

Pitch 3 (5.10b): It’s wise to start Pitch 3 a bit lower left of the bolted anchors where there’s a nice hand crack. Once you reach the ledge where Rick is standing, you’ll find one bolt at his shoulder level and another further up. For me, the crux of the entire Angel’s Crest is in the section between these two bolts. I haven’t sport climbed in over a year, and the ~4.5 kg of weight was not helping either. This is where we started linking pitches; link P3 and P4 (5.6).
Pitch 5 (5.10a): Climb this steep wall and traverse right under the roof. In my opinion P1, P3 and P12 are the burliest and most tenuous 5.10 pitches, everything else felt fun. Rick linked P5 and P6 (5.5).
Pitch 5 Upper section: Totem .4 and .3 before traversing right.
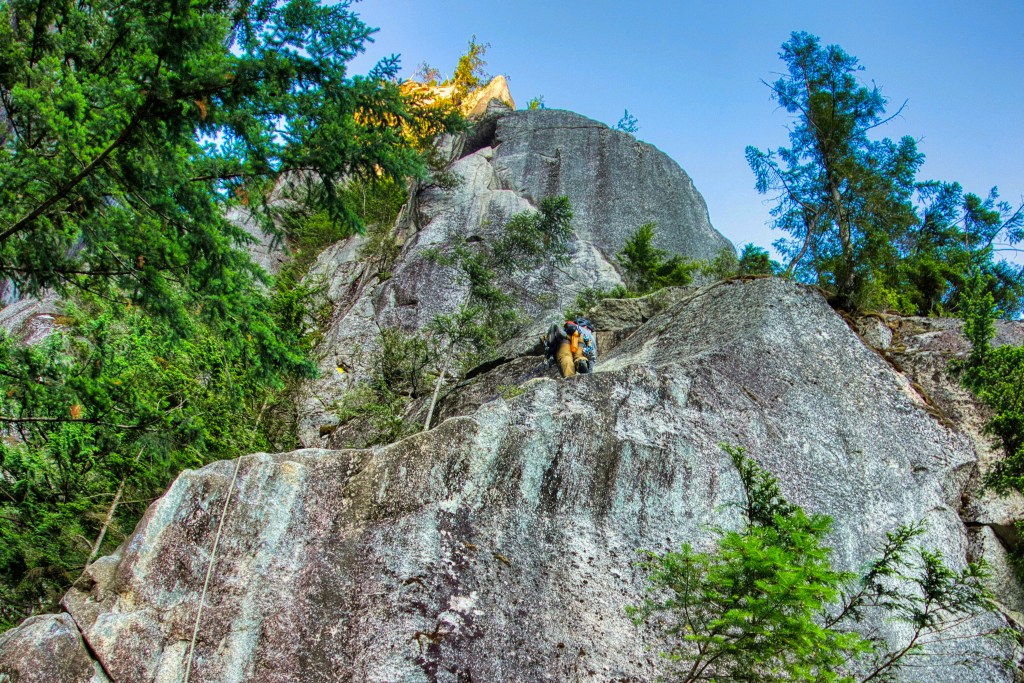
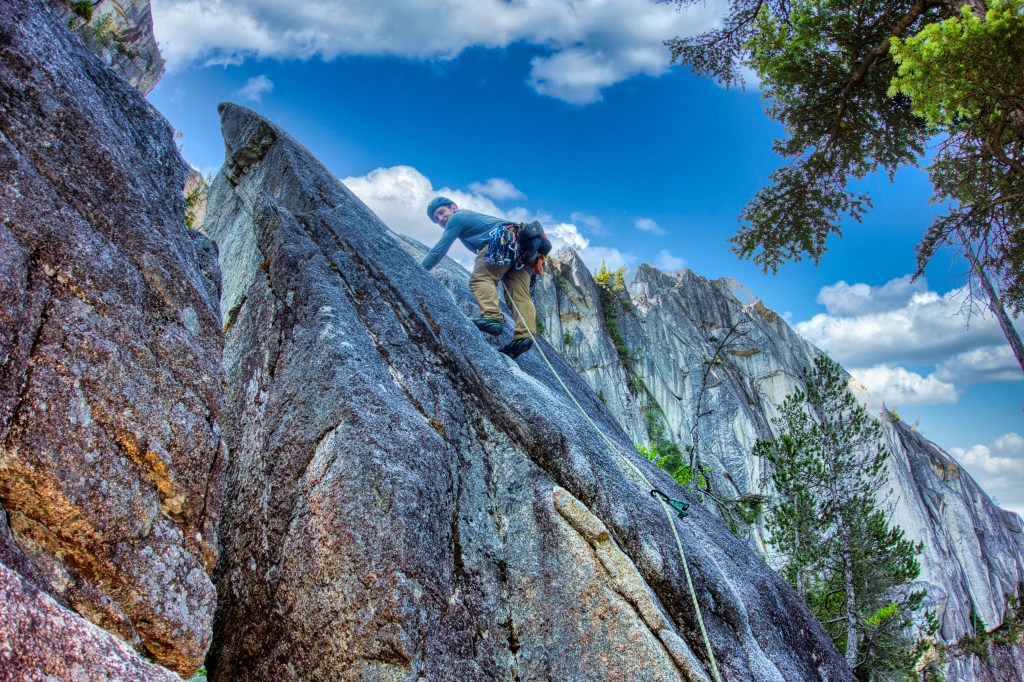
Pitch 7 (5.10a): Another pitch with super fun movements followed by a hand crack as shown in the following picture. The first cam is a totem .3.
Pitch 7 upper section before the forest. Gear is totem .75 and #2.

Pitch 8 (5.9): The 5.10b #7/#8 offwidth looks very attractive but requires hauling the big bros. This picture is the start of the 5.9 slanting corner crack with totem .3 and .5 as the first cams and rest of the crack tackes finger pieces. I really enjoyed this pitch.
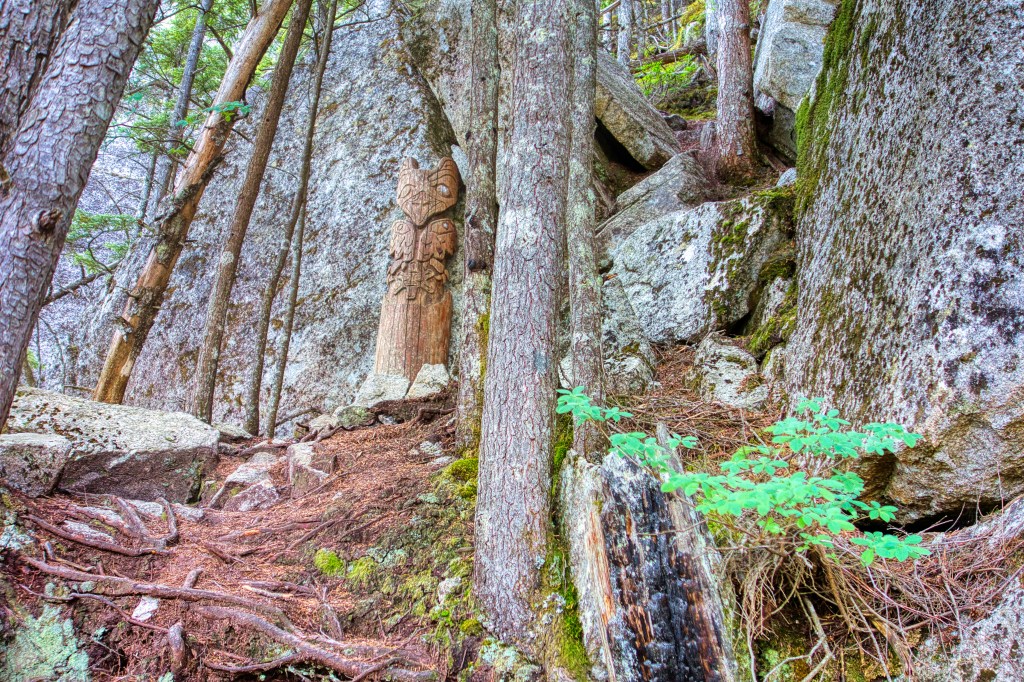
Hike the trail until you see the totem then follow the blocky terrain to the base of “The Acrophobes”.
Pitch 9 (5.5): Super easy non phobic traverse with .75 and .5s at the start. Way easier than the knife edge of North ridge of Mt. Stuart.
Pitch 9 rappel anchor. After this rappel there is another anchor as you traverse right while facing the forest. There is a rope with knots for the downclimb, but we set up a TR and lowered on our rope as recommended on Mountain Project comments.
Pitch 10 (5.8): Blocky and uneventful fun climbing.

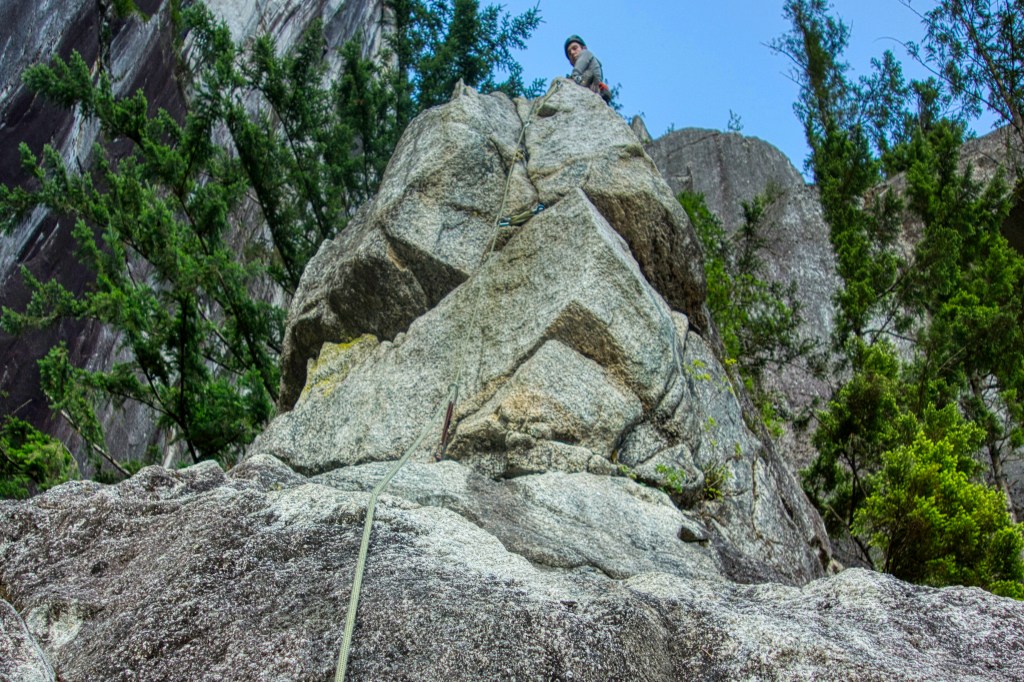
Pitch 11 (5.7): “The Whaleback” start.
Pitch 11: Fun hand and fist crack with undercammed #3 and a solid #2 up above with extensions for both.
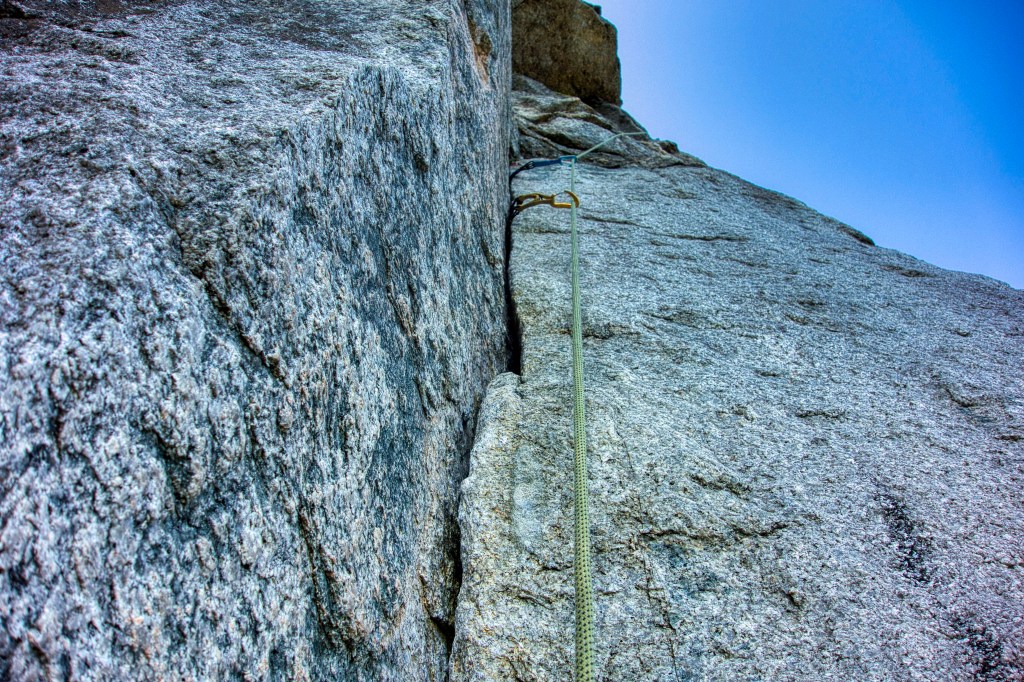
Pitch 12 (5.10a): This is the third burliest 5.10a pitch on this climb. Really testing your training while offering strenuous moves this high up on the climb. Gear is very tricky at the start so take your time. Rick placed a totem .4 and #1 above the anchor as seen in this picture.
Pitch 12 upper section: Gear from bottom to top is as follows: .2, #2, #1, totem .75, totem .2 and .3. Traverse right towards the top under the roof which is easier.
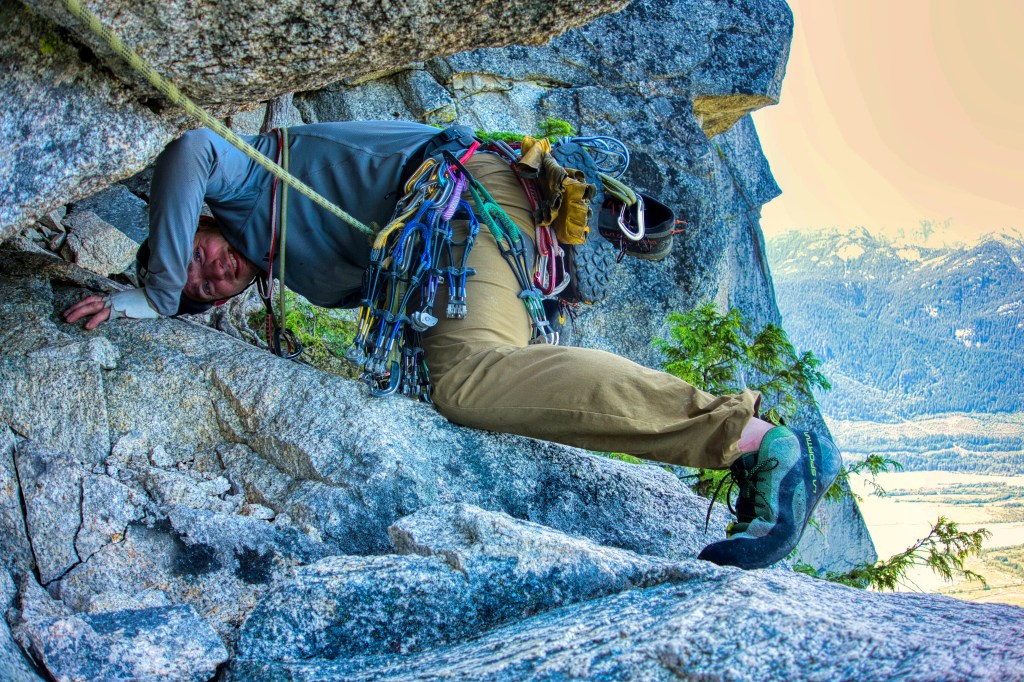
Pitch 13 (5.8 Squeeze Chimney): Crawl to the base of the chimney and before you start the chimney you can place #3 followed by a totem .5 and .3 as you move up. Rick squeezed into this chimney and felt secure, but he had to hang his shoes from his harness. I had to put everything on my harness into the backpack, which made it so heavy that I chose to stem the chimney instead. The follower can easily stay out of the chimney and stem it for an easier ascent.
Picture of chimney taken from the base.
Enjoy the second summit of Stawamus Chief and follow the obvious descent trail. Our total climb and hike time was 12 hours, car to car. To celebrate, we indulged in large bowls of vegetarian ramen and topped it off with some delicious ice cream. Because after a long day, nothing says victory like hydrating soup noodles and dessert!
