
Sandy:
On Day 5, we reached the base of Rock On around 7:30 am, only to find three other parties already there. Not keen on waiting, we called it a day and had our only rest day of the 10-day trip.
Fast forward to Day 6: we arrived at 6 am and, lo and behold, had the place to ourselves! It takes exactly 21 minutes to hike from the parking lot at a relaxed pace, just enough time to finish a podcast or have a deep existential thought.
I started up pitch 1 around 6:30 am, feeling good until I glanced down and saw 8 people at the base, looking like they were waiting for concert tickets. This climb is insanely popular, and after doing it, I can see why. It’s the best moderate route on the Apron and totally deserves all the hype. Also, for the month of July, the route remains in shade all day.
The climb itself is a buffet of techniques: steep laybacks, jam backs, smears, hand jams, and finger locks. It’s like a climbing sampler platter! The rest of our epic adventure is detailed in the image captions.

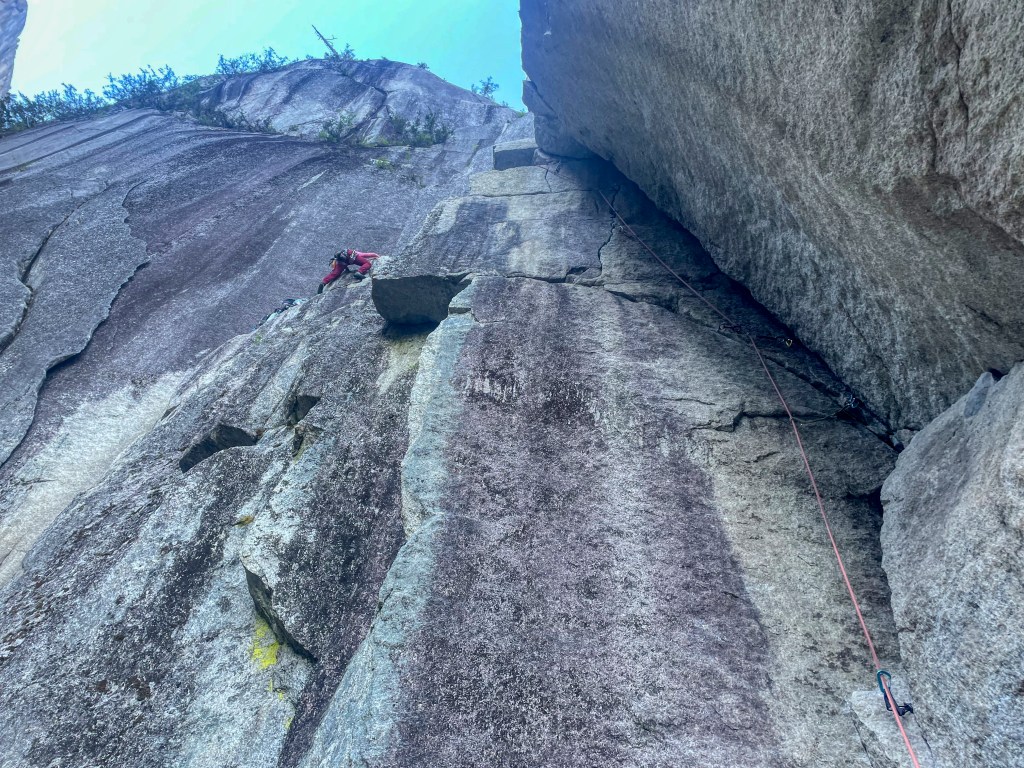
Pitch 1 (5.8, 35m): I linked pitch 1 and pitch 2 and had a lot of drag at the end. This picture reveals the reason, my first cam #2 should have been extended with a double length sling instead of a quick draw. I think this pitch should be led by people who can lead 5.10- or harder and are confident at lower grades with run out. I didn’t find abundant good gear on this pitch. However, for confident leaders I highly recommend leading this pitch because this is the fullest value 5.8 I have climbed on the Apron. It has everything from lay back, jam back, smear, offwidth, chimney and hand jams. I had tripples for finger size cams and doubles up to #2 and a single #3.

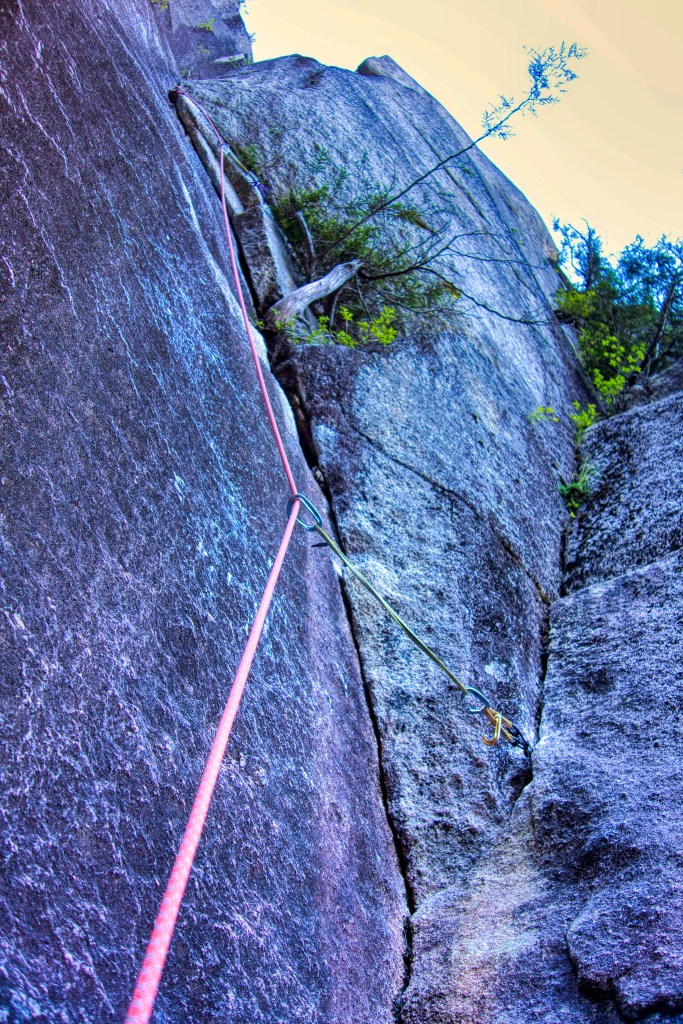
Pitch 2 (5.8, 20m): Placed a .5, .4 and more finger pieces. The final section that deposits you on the large ledge with a tree has two options: 1) #4 offwidth 2) Squeeze chimney. I didnt have gear for either of them, but I did a few moves of lay back on the offwidth and protected it with a #3 at the base. After that there is a very short easy chimney before you pull on to the ledge. I was like, “Who needs this many slings?” But lesson learned: it’s smart to carry plenty of slings and a few double length ones because nearly every piece of gear needs extending to avoid rope drag. Now I know – you can never have too many slings!

Pitch 3 (5.9, 20m): After tackling two steep runout 5.8s, I eyed the next pitch I had planned to lead. It looked scarier than it really was. To calm my nerves, I realized singing helps (I’ve seen guys whistle, and once, a guy at Smith Rock fell and asked me if I knew any songs). So, while belaying Rick, I started singing Hindi romantic songs. Two climbers on Hard On noticed my melody, and after finishing pitch 3, I explained I needed to calm my nerves—they were totally cool with it. As for the pitch, it’s definitely worth trying if you’re a confident 5.9 leader. It’s not as tough as it seems, with plenty of good ledges to stand on and place gear. I placed a .3 and .4 at the start of the crack, protected the middle with another .4 and finger cams, and the slanting crack widens toward the top. Go for it!

Pitch 3
Pitch 3: Go to the top and then traverse left and lower, stay low to make the traversing slab moves which are much easier than the appealing traverse from above. Once you get close to the bolted anchor, you will have the option to protect your follower from traversing fall but be careful because all of the blocks move slightly.

View from the top of pitch 3

Pitch 4 (5.10a, 50m): Pitch 4 can be broken down into two pitches with gear anchor but at the end of 50m there are bolted anchors. Pitch 4 has short, sustained sections but does provide rest which makes it a super fun 5.10a pitch. The first two gear are a gold offset nut (only this nut fits here as shown in the image here) and a non-totem yellow .2 (you can see this in the image below).

Pitch 4: This section can be protected with a .4 and .5 as seen in the image below.

Pitch 4: It looks like there is a piton then protect it with totem .75, #1, totem .3, .2, .1, .75, .4 and .5 from bottom to top. The mantle to the ledge after the .2 placement is difficult. I traversed left and then finished the mantle but that would be very strenuous on lead.

Pitch 4: Final section. At the notch by the .5 placement you have option to continue on the finger crack and lay back it but on the right side of the notch there is a overhanding hand crack which can be protected by a #2. I opted for that as a follower to stand on the notch.

Pitch 4 looking down from the belay. It is best to belay from the bolts because the drag will be too much to link it with a zig-zag, dirty slab traverse 5.7 pitch which is only 15m and takes two hand size cams and a sling before the dirty slab traverse. After topping out follow the trail until you see a large slab to your right, then traverse right to find bolted anchors for rap to Broadway Ledge.
