

I’ve written before about some of the after-work multipitches we’ve done at Smith, like Wherever I May Roam and Dirty Pinkos. Back on April 7, 2022, I onsighted Dirty Pinkos, leading all pitches in exactly two hours. In that trip report, I had mentioned hoping that one day, 5.10 trad would feel as casual as 5.10 sport. Well I am not quite there—mainly because trad climbing brings so much variation, and there’s always that underlying question: will the gear (and sometimes the rock which sounds hollow at many places) actually hold a dynamic fall?
That said, after leading eleven 5.10- trad routes in 2024, I’m feeling much more confident on 5.10 trad. It doesn’t feel casual yet, but I am willing to rack up and give it a go. Although on this line Rick led the first three pitches :).
Above the second bolt of Morning Sky.
Over the weekend, we climbed eight pitches, most of them 5.10+ and up. Then on Monday, we found ourselves at the base of Zion at 3:30pm. Because of spring break crowds, we had to start via Morning Sky (5.10c). It was an interesting warm-up—slightly greasy rock, sweaty palms due to the warm weather, double rack of trad gear, and a thin, delicate start that demanded full attention.
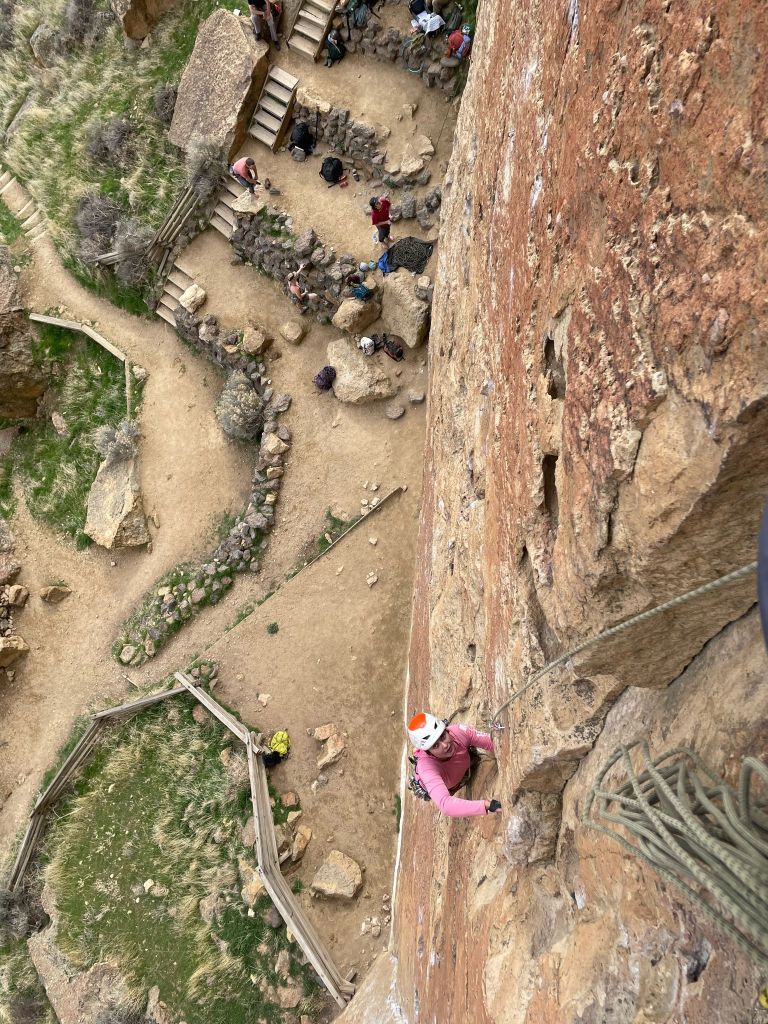
Zion’s the kind of route that has something engaging or a bit unsettling on almost every pitch—it keeps you focused. Thankfully every pitch has bolted anchors. The second pitch is where things get tricky. The crux is entering the 5.10- crack, with a transition from a lieback into a stemming position across a slippery section right under the crack (Please see my text in the first picture). It’s definitely one of those moves that feels more committing than it looks. You can stem and protect the traverse using totem .4s and .5s high in the crack. For the follower, the face climbing on the right is an option too. The rest of pitch 2 is sustained at the grade and awkward but offers good friction for stemming on both sides up above. Down low, I jammed left foot and smeared right foot on the right wall. Since the tuff crack is wavy, gear is thoughtful and tricky. The crack begins at finger size and gradually widens to hand size pieces.
Almost at the anchor of pitch 2. Unfortunately, I didn’t have my good camera to snap some close-up shots of the sustained 5.10- pitch with gear beta. Having a complete double rack with totems was very useful because tuff crack is wavy. #2s and #3s are useful up above when the crack widens.
It might be tempting to link pitch 2 and 3, but I wouldn’t recommend it—pitch 3 has an unprotected traverse (shown in the first pic above) shortly after the start. While its an easy traverse, a fall has high consequences as discussed on mountain project comments. Plus, it’s nearly 60 meters long on its own. With the exception of no fall zone, pitch 3 is mostly straight forward. You can protect the initial traverse with hand-sized gear in the left crack, and once you’re past that, there’s a good spot for a .4 placement. The rest of the pitch follows a low-angle crack up to the anchor.

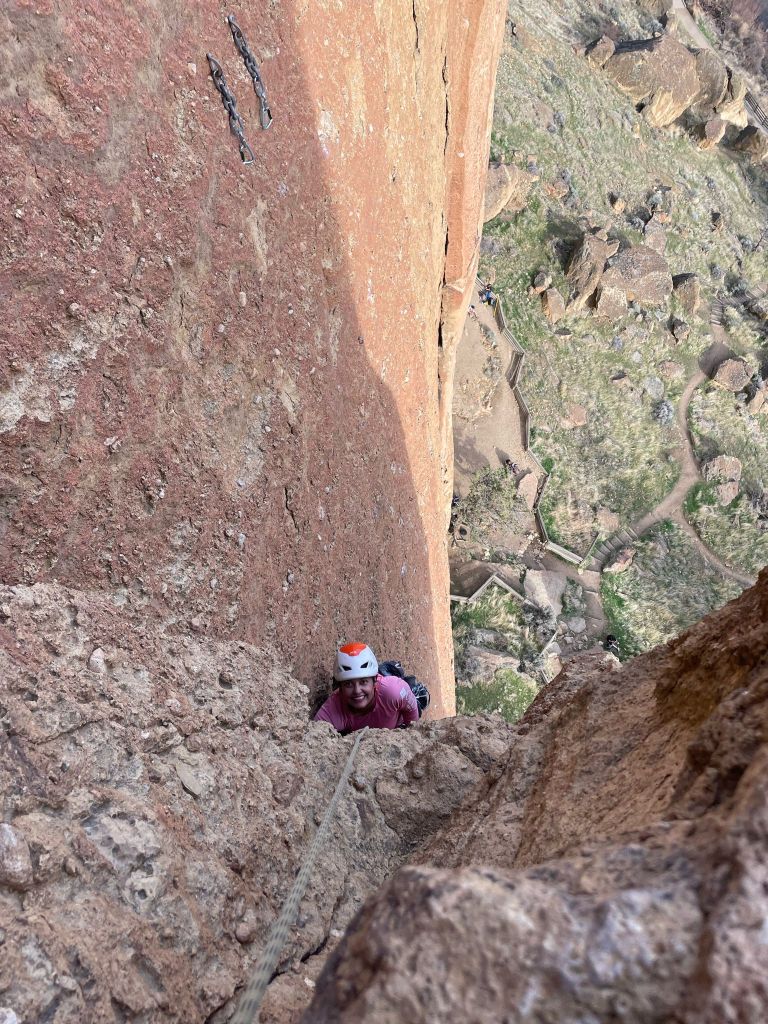
Looking up on pitch 3 from pitch 2 anchors

Almost at the anchor of pitch 3
Pitch 4 appears low-angle from the anchor, but once you’re on it, you realize it’s steep enough to generate clean falls—something to keep in mind while placing gear. It starts thin and opens to hand-sized sections. The rock is a bit crumbly in places where the crack is discontinuous. After the initial traverse, you’ll want to be deliberate about footwork—small nubbins work. There’s a mantle onto a small ledge that feels like the crux of the pitch (indicated in the first picture), followed by some jamming and side-pulling into a one-foot stances.
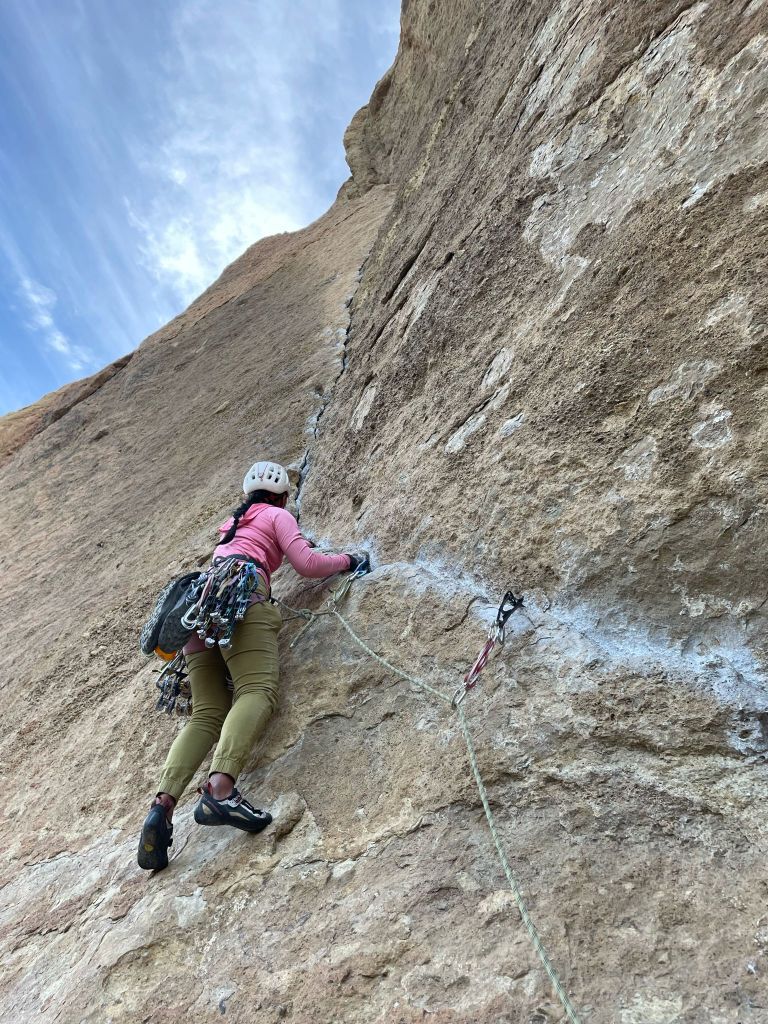
Start of pitch 4. I placed a totem .2 and .3 at the start. Thoughtful gear placement.

Sandy almost at the end of pitch 4 crack. After this section, pull on to the ledge, walk left to clean rock, find the easy face, option to protect with a totem .4 before you start the face. Top off and enjoy the view. Gear on this crack are as follows totem .2, .3, .75, something finger size, #1, #2. One #3 was useful towards the end of this crack.
Some placements felt blind, but overall, the gear was solid. Once you reach the final ledge, traverse left and protect the clean face with a .4 before topping out. The sunset view from the top made it all worth it.

Rick: The man who did all the hard and scary work!
Total time: 4 hours base-to-base. We descended via Agro Gully. Zion is an excellent climb—engaging, varied, and heady in just the right way. Highly recommend if you’re comfortable on 5.10 trad and looking for something a little out of the ordinary.
