
Sandy:
If you have read the backstory on the Royal Arches page, you know that this climb was very important for the success of this trip. We were also looking for more practice on moderate wide/OW and chimneys. But after the hike for Higher Cathedral Spire, I could not fathom doing the same steep hike again during the same trip. So, the key was to insert a rest day between Royal Arches and Braille Book. We did Braille Book on our seventh day in the valley.
The rest-day trick worked, the hike felt like no effort which was a pleasant surprise and an eye opener for future itineraries. It took us 1 hr 45 min to hike at a casual pace, we got to the base at 8am, an hour before the schedule. The trick to the hike is to stay on the trail on the left until almost the top of the boulder field, then traverse over to the right. We did the hike in such a way that we successfully avoided most of the boulder field which saved tons of energy. There are lots of carins on the hike.
Pitch 1 was easy climbing for a bit without pro but I found that I could not trust the first three pro so it was about 20 feet of insecure climbing. Also most of the crack was quite wavy so one must be careful while placing gear.
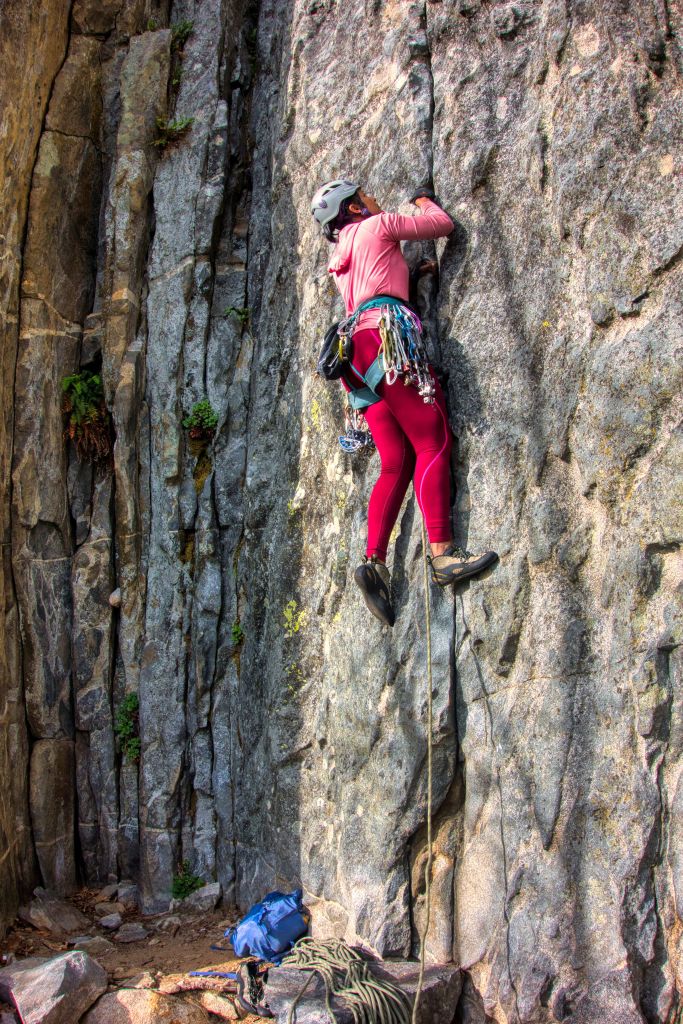
Apparently, I was so psyched on the crack that I missed a ledge on the right after the bulge and kept climbing to the bulge of the upper crack. That bulge felt like an overhanging hand crack which I did not want to commit to, so I had to downclimb a bit, did a smeary insecure traverse to the right to get back on the route.

Pitch 2 started easy but then I saw a scary OW bulge. I was quite surprised to find an OW on pitch 2 because I didn’t find it in the description and comments on mountain project. I think I used a #3 and bumped the #4 to as far as it goes then committed to movements with sparse pro. Once Rick got up to the base of pitch 3 he was proud of my lead which made me feel proud of myself :).
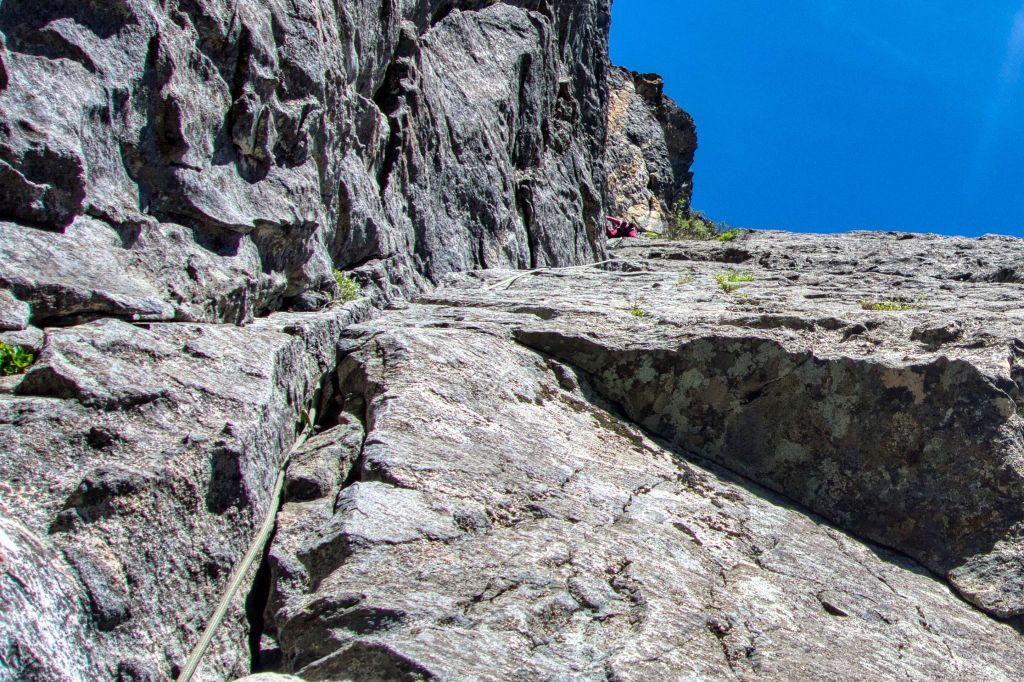
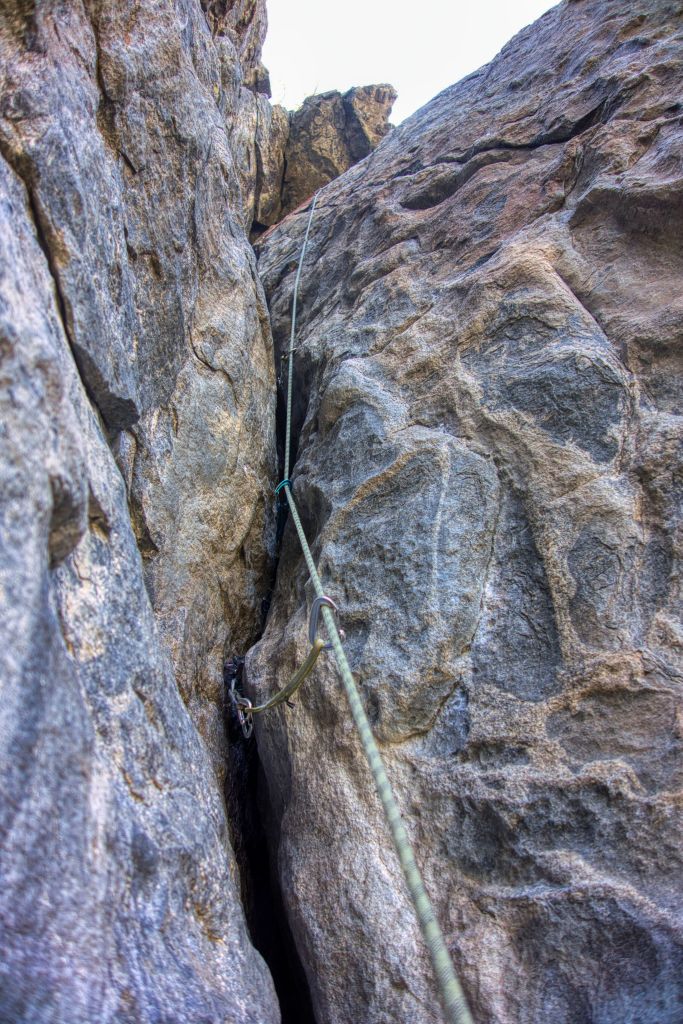
Seeing my performance on last two pitches, Rick tried to sell pitch 3 to me but I knew there was another OW on this pitch so I let him lead. The OW section seen in the picture below is about a #7 crack but Rick was able to protect it with a #4 at sections.

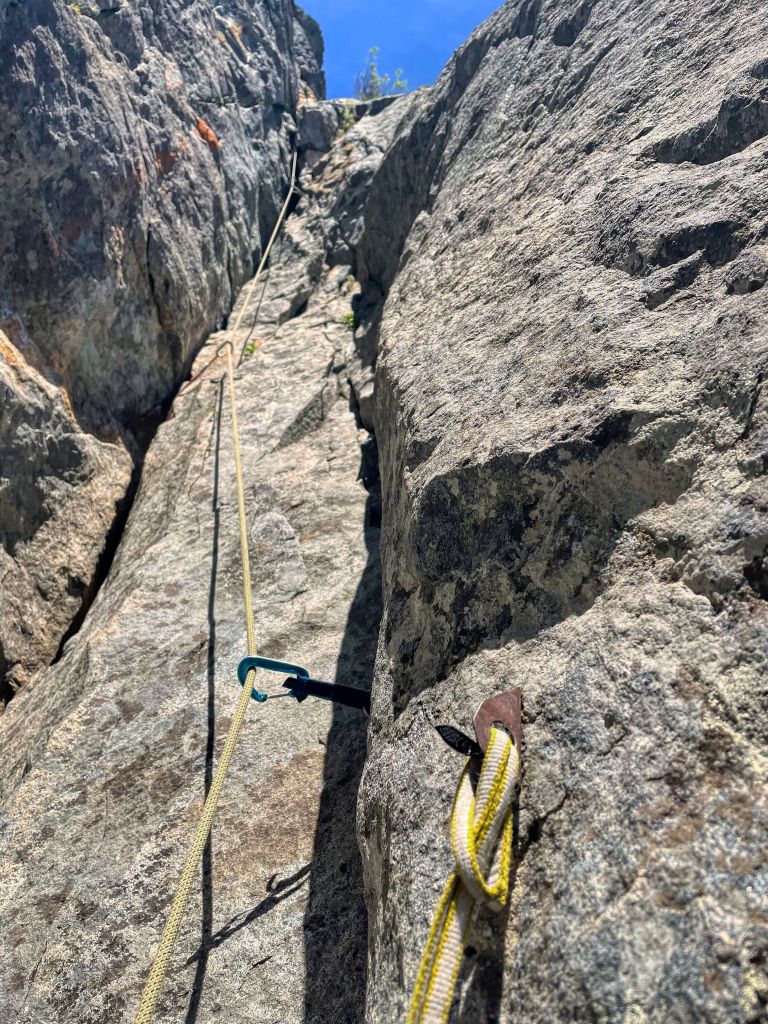
The picture below shows the crux of pitch 3, which is another OW that must be executed correctly to pull over the chockstone. On MP someone had suggested rap lines which was not mentioned but we found two sling rap/bail stations on every pitch until the top of pitch 3. The purple slings on the picture below are incredibly coreshot pieces of tat (how do you even consistently get coreshots every 6 inches?) with 1 small nut placement off to the side. I had accused my climber of moving like a snail on this pitch, but after the unprotected squeeze chimney it made more sense.

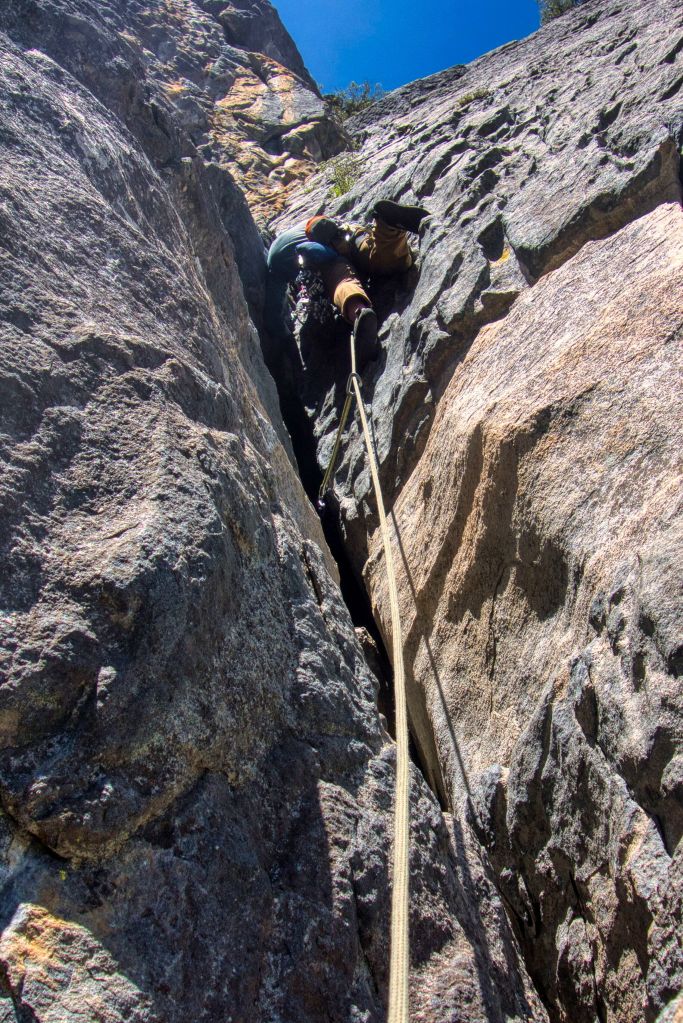
The first look at pitch 4 raised the question, is this 5.8+ ? It looked so foreboding that I was not sure if either of us can safely lead it. We had two #4 and one #5 and we were so thankful to haul that weight to do pitch 4 safely. I hung my backpack from my belay loop for the upper arch of this pitch which made it much harder to climb. The lower section up to the bush can be stemmed with pro in a seam, but the upper section requires some chimney moves. Rick had his back on the right wall and used oppositional force with his toes on the left wall, while I did the opposite. There were occasional knee and even hand jams deep in the upper crack. He had placed the two #4 one after another and the last piece was a #5 before he traversed right to pull over the roof. When I met Rick at the base of pitch 5, the first thing he said to me was “if you told me that was 5.10-, I’d say that makes sense”. He also said that the 5.10- flaring squeeze chimney on Stanley Burgner route on Prusik Peak, Enchantments, WA felt easier than this pitch.


I offered to lead and link pitch 5 and 6 which started with a nice hand crack.

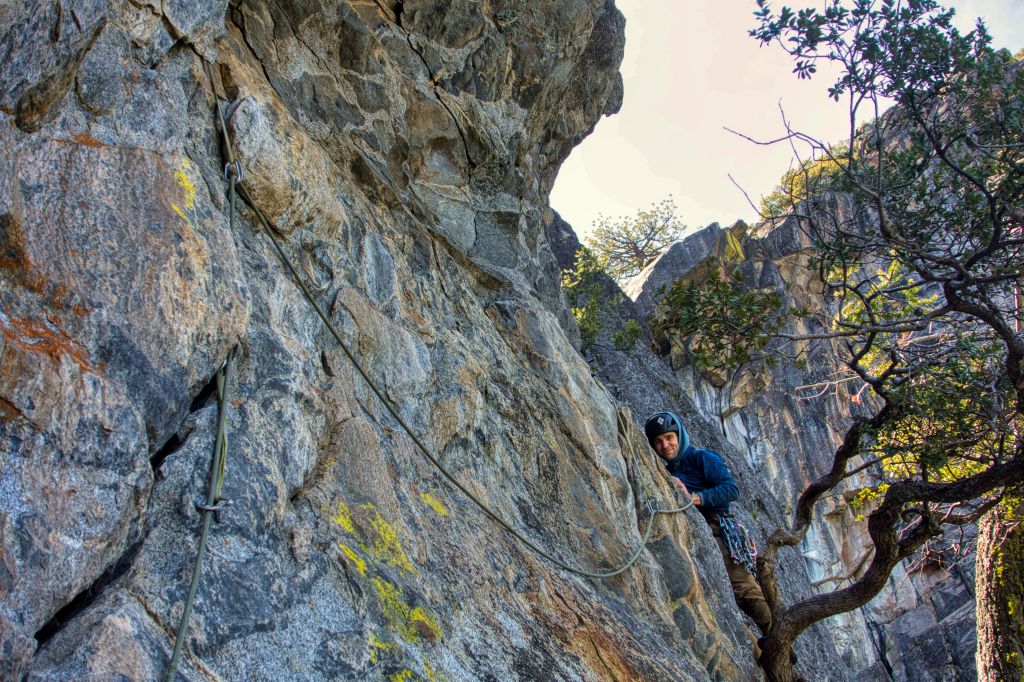
When I got here, I protected the left crack with #4 as my last piece. Initially I thought to use the chalked jugs for feet and just palm with my hands but that felt insecure. Then I down climbed to use the jugs for hands, but I could not commit to the smears on crappy/lichen covered granite. So, I belayed Rick up and watched him do the traverse. Lesson learned, a 5.8 face move is supposed to be easy so do not over think it, just do it. Rick placed a .2 at the end of the traverse and then posed for a photo on a tree with hundreds of feet of exposure below.


Final remarks:
- Since the rock is featured, the grade is low but the climb is almost as vertical as most of the 5.10/5.9 trad climbs at lower gorge, Smith Rock.
- The debate on MP about one #4 or #3.5 or two #4 or a #4 and #5 is not worth it. We took two #4, one #5, two #3 and used all of them for mental peace at many places. It’d be fine with one #4 and one #5, since frequently the cruxes only take a #5.
- Pitch 4 is the most daunting of all of them but know that almost half of it can be stemmed easily and protected with finger sized gear on the left wall.
- Be prepared for steep 5.8s. I was wondering how can 5.8 be steep as we mostly associate that grade to low angle cracks like the ones on Nutcracker but 5.8 on Braille Book is STEEP.
- There is one carin that is on a cliff, do not go there, instead go further up on the trail to find a low angle descend trail. There is one rap at the final low 5th section that deposits you on the forest floor. We rapped it because the granite was covered in lichen. The descend is way shorter and easier than the cliff. We also did not find any bees!
We really enjoyed this climb because it gave us the much needed OW/squeeze chimney practice and made us feel confident about NEB of Higher Cathedral. We celebrated with falafel bowls, mojito, margarita and my favorite ice cream at the Mountain Lounge opposite Camp 4.
